DIY Wig Styling Hacks Every Beginner Should Know
Are you tired of scrolling through endless tutorials that promise the perfect boho braids but leave you tangled in confusion instead? Fear not, fellow style adventurer! The world of wig styling is about to get a whole lot easier and infinitely more enchanting. Imagine transforming your look with the whimsical charm of jaliza boho braids hairstyles without having to step foot in a salon. Whether you're gearing up for a music festival, aiming for that perfect Instagram shot, or simply want to infuse your day-to-day life with a bit of magic, we've got the inside scoop on DIY wig styling hacks every beginner should know.
Dive into this treasure trove of tips and tricks where simplicity meets creativity. Here, we'll guide you through mastering those elusive boho braids on your wig with ease and confidence. Say goodbye to frustration and hello to turning heads with your stunning jaliza-inspired creations. Armed with these hacks, not only will you save precious time and money, but you'll also embark on an exciting journey towards becoming your own wig styling guru. Let's unravel the secrets together and unlock a world brimming with creative potential!
Choosing the Right Tools for Wig Styling
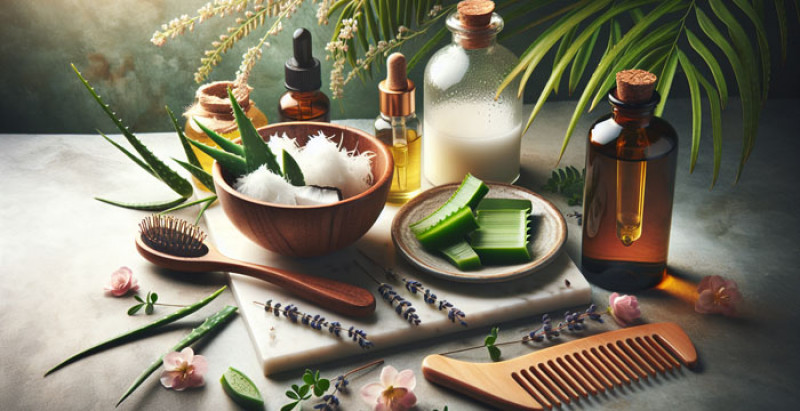
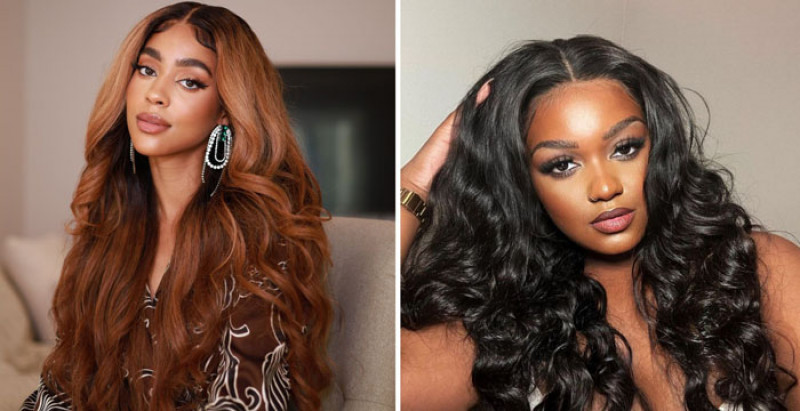
When embarking on the journey of DIY wig styling, selecting the right tools becomes paramount to achieving those salon-envy looks right at home. Among the myriad of choices, Jaliza braided wigs stand out as a beacon for beginners and seasoned stylists alike. Their unique construction demands specific care yet opens up a realm of styling versatility unseen in traditional weave options. To truly bring these pieces to life, understanding and investing in quality styling tools can make all the difference.
For Jaliza knotless braided wigs, gentle touch is key—opting for wide-tooth combs and soft bristle brushes ensures you can shape and style without risking damage to the delicate braid patterns. A good water-based moisturizing spray becomes your best friend not just for keeping the wig looking fresh and vibrant but also ensuring it remains easy to manage during styling sessions. Finally, integrating lightweight oils or serums specifically designed for synthetic hair will add that lustrous finish making your DIY project indistinguishable from professional work. These essentials arm you with the ability to transform any Jaliza braided wig into an expression of your personal style prowess while maintaining its integrity for seasons to come.
Basic Wig Preparation Steps Before Styling
Before delving into the intricate world of wig styling, it's imperative to master the art of basic wig preparation. This foundational step is akin to priming a canvas before painting; it ensures your styling efforts culminate in a masterpiece. One often-overlooked gem in wig preparation is the 'bathing' of your synthetic or natural hairpiece. Just like natural hair, wigs accumulate residues and need a fresh start before any styling magic happens. Immerse your wig in cool water mixed with a gentle shampoo, then follow with conditioner, keeping it sleek and manageable — think of this as nurturing your wig’s soul before dressing its body.
Another key aspect that sets the stage for flawless styling is ensuring your wig is thoroughly dried and detangled. Air drying by placing your cleaned wig on a mannequin head not only preserves its shape but also prevents the fibers from becoming frizzy or damaged — an essential tip for longevity and maintaining that just-bought allure. Once dry, employing a wide-tooth comb or a brush specifically designed for wigs to gently detangle ensures you’re not warping the fibers or inducing unnecessary shedding. This careful preparation allows every strand to fall perfectly into place as you venture into sculpting and personalizing your look, turning what was once just strands of hair into an expression of incredible style and personality.
Mastering the Art of Cutting and Trimming
Mastering the art of cutting and trimming is akin to a sculptor chiseling away at marble - it's about revealing the masterpiece hidden within. In the realm of DIY wig styling, this phase transforms an ordinary wig into a tailored crown that perfectly frames your face. Yet, precision is key; each snip carries the weight of intention. Visualize your end goal and approach with patience, as haste can transform style into mishap.
The secret sauce? Understand that not all scissors are created equal. Investing in a pair of professional hairdressing scissors marks the difference between jagged ends and sleek lines. Begin with minor cuts, assessing after each trim; remember, you can always cut more, but once trimmed, only time (and perhaps new wigs) can replace what’s lost. Moreover, embracing point cutting—snipping into the ends vertically—can prevent a blunt appearance and add texture for a more natural look. This technique breathes life into synthetic locks, making them undistinguishable from their natural counterparts.
By treating every cut as a deliberate step towards your envisioned silhouette, you infuse personality and uniqueness into your wig. It's not just about chopping lengths but cultivating an aesthetic harmony that aligns with your individuality. After all, mastering these scissors instills confidence not only in styling wigs but also in crafting identities anew with every trim and snip.
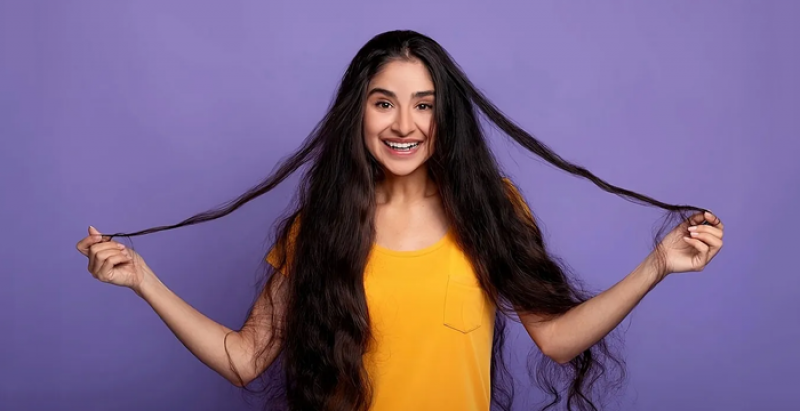
Essential Techniques for Curling and Straightening
When it comes to DIY wig styling, mastering the art of curling and straightening can dramatically elevate your wig game. An essential technique for achieving flawless curls without causing damage is to use a steam method. Yes, you heard correctly! Steaming stands out from conventional heat styling because it ensures that the synthetic fibers don’t get burnt while locking in beautiful curls. By wrapping small sections of the wig around flexi-rods or rollers, then gently steaming them with a handheld fabric steamer and allowing them to cool completely before unrolling, you’ll witness bouncy, lively curls that rejuvenate your wig’s appearance.
On the flip side, when the goal is sleek straightness, forget about using high-heat straighteners that could potentially melt your precious strands. Instead, opt for a warm water method combined with a wide-tooth comb for an innovative approach. Submerge your wig in warm (not hot) water and carefully brush through it with the comb to detangle and begin the straightening process. Post this step; securely fasten your wig on a mannequin head and use a blow dryer on a cool setting while continuously brushing through sections until completely dry. This technique not only preserves the integrity of each fiber but also imparts an awe-inspiring silkiness you'd love to run your fingers through—all this without risking any thermal damage!
Trending Collections


Popular Tags

Plus Size Work Outfits
32 Posts
School Outfit
280 Posts
Denim Outfits
562 Posts